
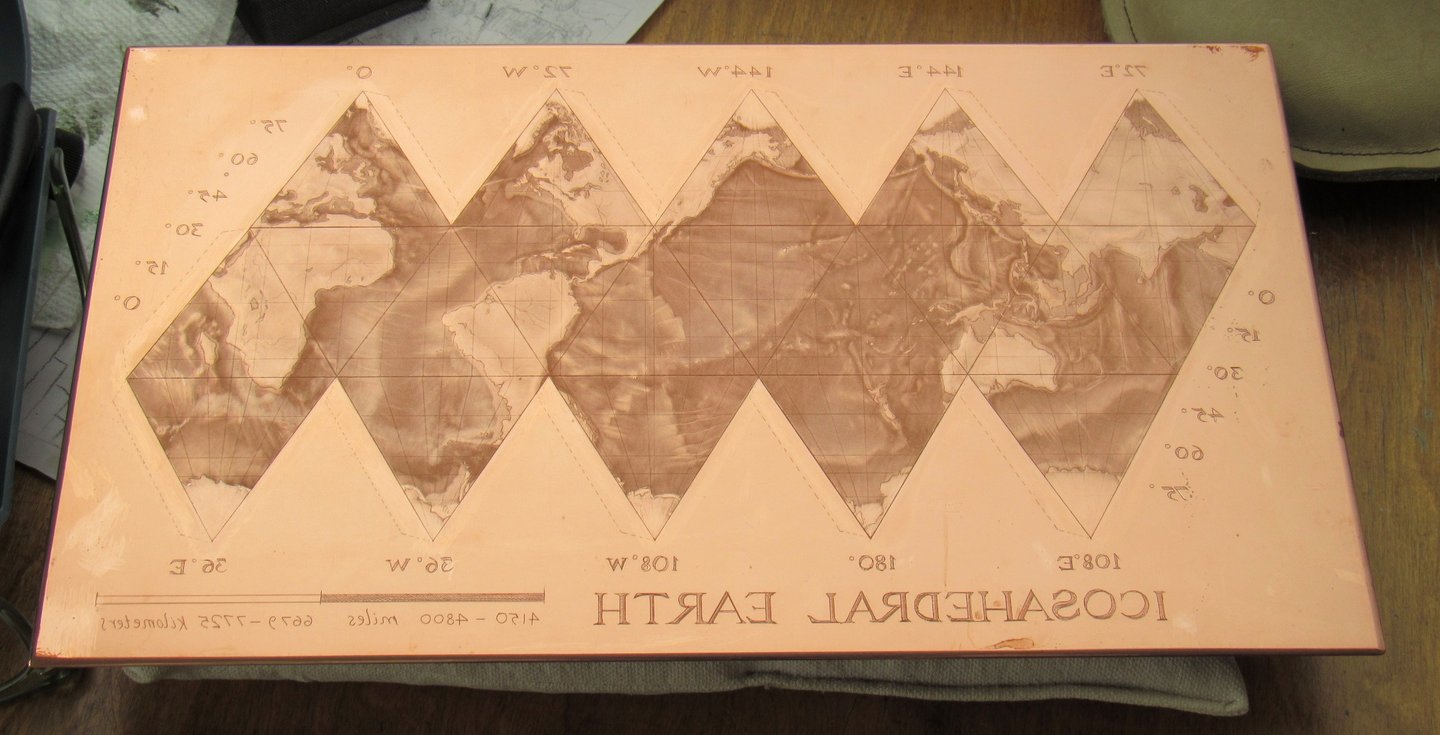
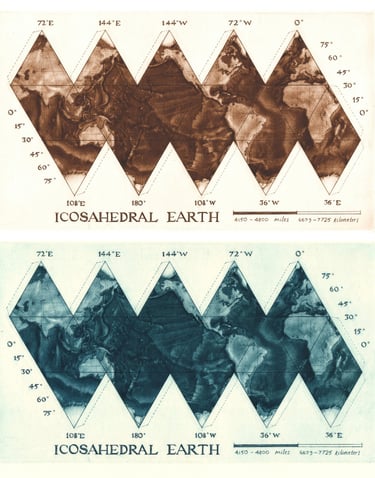
Icosahedral Earth
For years I had wanted to make a printed polyhedral "net." A "net," in polyhedron jargon, is a flattened version of a polyhedron that you can cut out and assemble into a three-dimensional form.
I had envisioned a complicated form like the stella octangula or a stellated dodecahedron, but in the end I decided to make my first foray into hand-printed polyhedral nets a little more modest, with a simple icosahedron, or regular twenty-sided figure.
But it seems I can't do anything without making it overly-complicated. I decided to combine mezzotint with the etched outlines—but what kind of image should go in each of the twenty triangles?
Initially I thought I could have a collection of twenty related images, like twenty marbles, twenty flowers, twenty little somethings… Then I thought of a single, three-dimensional image that could wrap around into a complete object when assembled. A globe seemed the obvious choice, but how to even begin? I am no cartographer, and I don't claim this was the best, or most accurate solution, but I realized it was just a simple math problem in the end: dividing 360 degrees in two directions.
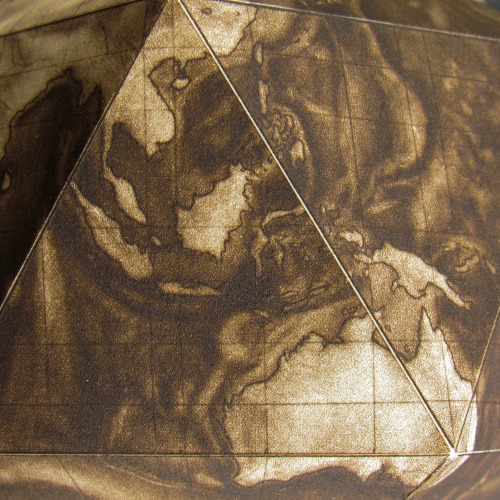
The northern and southern regions of the globe are made of five triangles each whose apexes meet at the north and south poles. Each of these "polar" triangles would therefore span 72º, since 360º/5 = 72º. At the equator there are ten alternating triangles that connect to the northern and southern triangles, so the span from the center of each equatorial triangle to the next would be 360º/10, or 36º.
Latitude was also straightforward: I just made a grid in 15º increments from the equator: 0º at the equator, 90º at the poles, six increments up, and six down.
I made the drawing first by looking at our living room globe, then refining the contours by looking at a very large scale world atlas. Since I had already divided the world into 15º grids, it wasn't really all that hard to pin everything down; it just took a lot of time and patience.
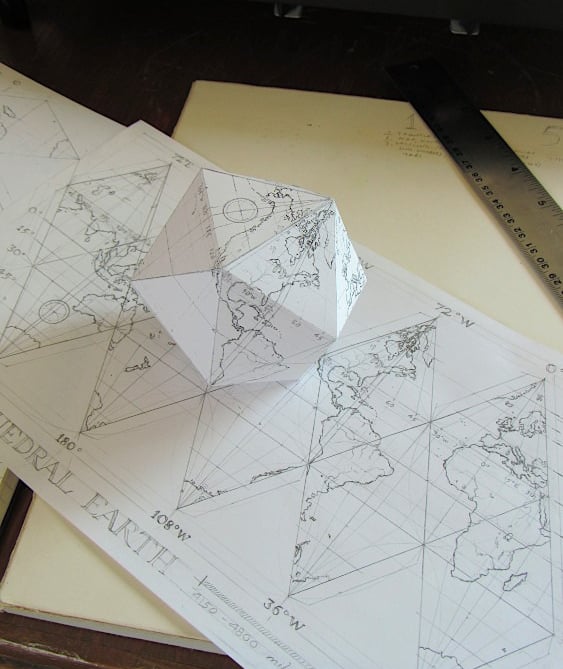
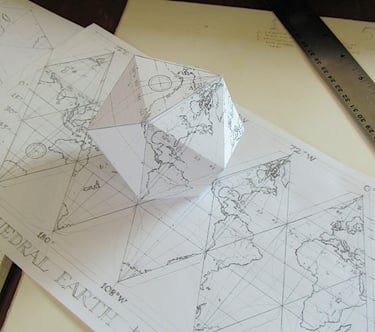
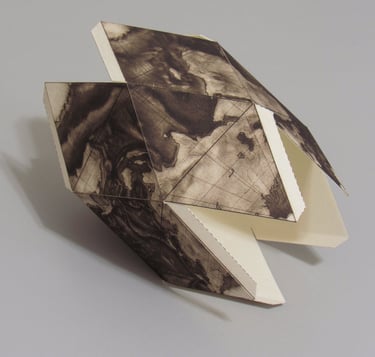
I ended up with a graphite drawing that could be transferred to a copper plate. Before running it through the press, however, I made copies of the drawing and cut one of these out to see how the icosahedron would look when assembled.
But how to get the drawing onto the copper plate? I decided to use a simple method that Goya and countless others have used for centuries: running the drawing through the press onto a hard ground. In this case I smoked the hard ground so the graphite lines would be easier to see. You don't need a ton of pressure—far less than you typically use for printing.

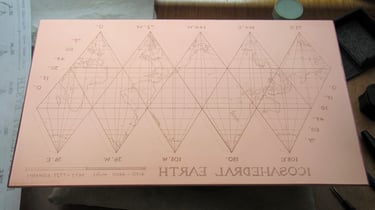
Now it was time to etch. I etched in three stages: first, the triangles (20 min), then the country outlines, numbers, and letters (+20 min), and finally the latitude, longitude and interior details (lakes and rivers) (+10 min) so the triangles have 50 minutes total etching time, the countries 30 minutes, and all of the lighter lines have 10 minutes.
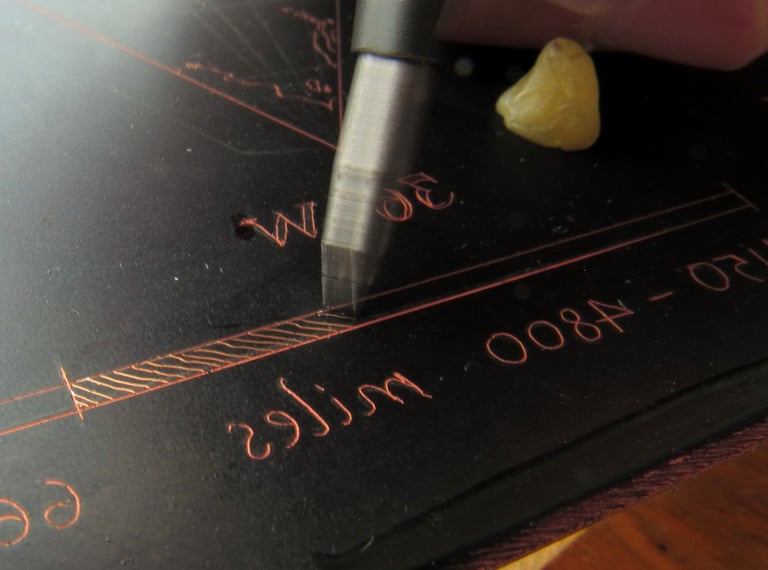
I am adding the hatching to the distance scale at the bottom of the map in this image.
Now I faced a problem: I usually just rock the entire plate from edge to edge, but to do that in this case would be foolish. I wanted a stark white background, and about half of the plate is background. So how to only rock the net? The answer was to mask the margins with paper and tape so that the mezzotint rocker would theoretically only hit the copper plate in the "image" areas.
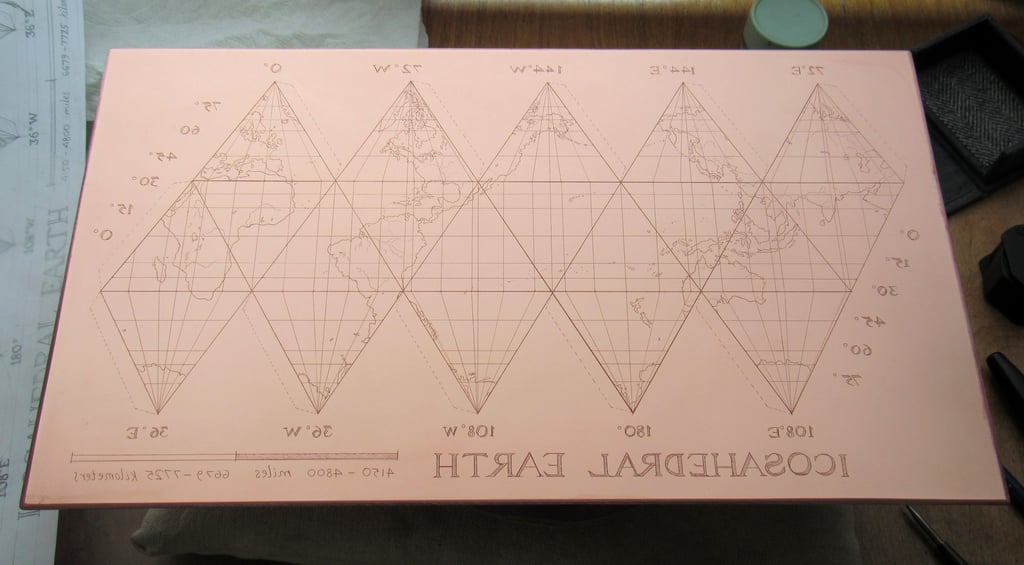
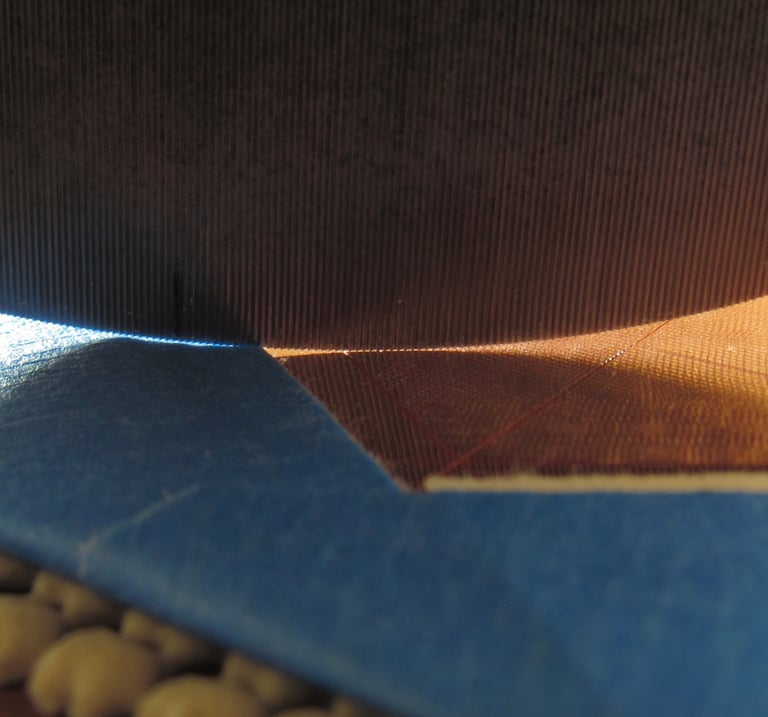


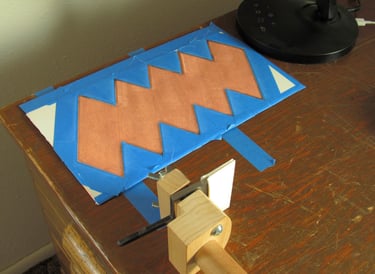
Because the rocker tends to chew up the edges of the mask, I had to replace the mask three times during the rocking process. This was a bit of a chore, but far better than the alternative of painstakingly scraping out stray rocker marks all over the edge of the plate.
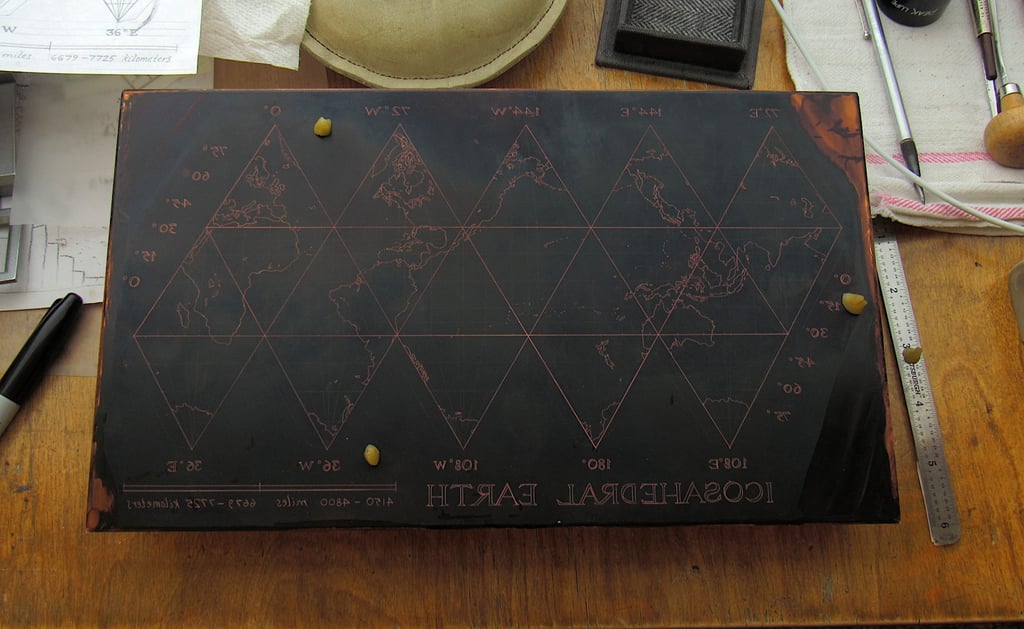
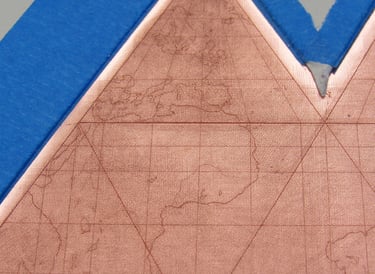
Here is the (mostly) finished plate. You can see that I had to clean up the edges of the triangles, but most of the margin or background remained polished and untouched.
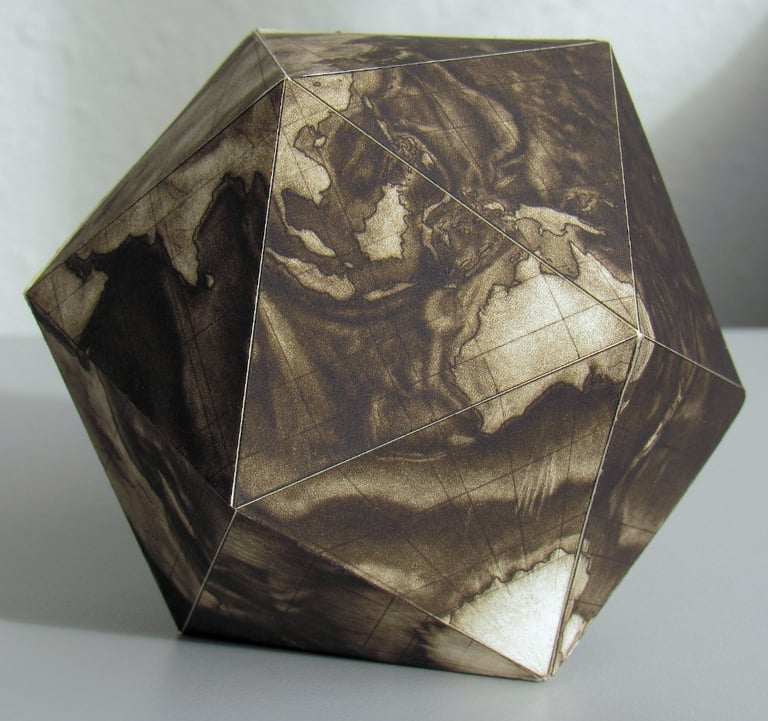
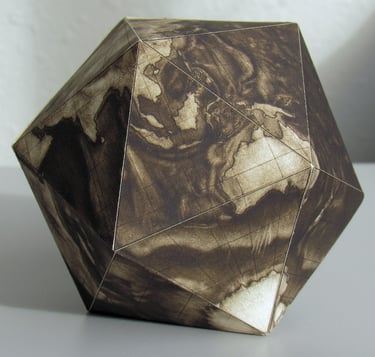
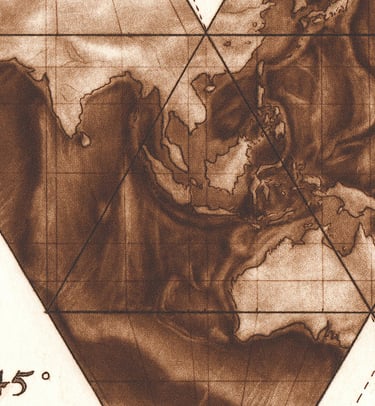
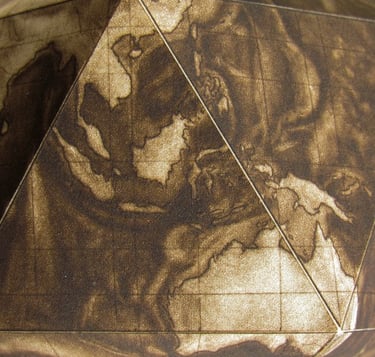
When you recreate a globe by hand, you realize how much of the surface of the earth is covered by the Pacific Ocean. It's huge! The better part of 8 out of 20 triangles is covered by it. And here was a problem. If I only included the country outlines, I would have a very boring map with huge empty spaces. So I decided to attempt to portray the seafloor as well as the land masses. This was probably the most difficult part of the whole project for two reasons. First, I was now working on a backward version of the earth. Luckily, I have an excellent National Geographic atlas with detailed maps of the seafloor, but I had to photograph each page, then reverse it with my phone so I was working from a mirror image. So, yeah, lots of drawing from my phone, which is not my favorite thing to do…
The second problem is that the light source for the National Geographic seafloor maps was coming from the west, and I wanted to have my light source coming from the east. I wanted each continent to appear as if the sun was rising on it. So in essence I had to look at the (backward) seafloor maps, try to internalize the forms, and then mentally reverse the light source for my map.


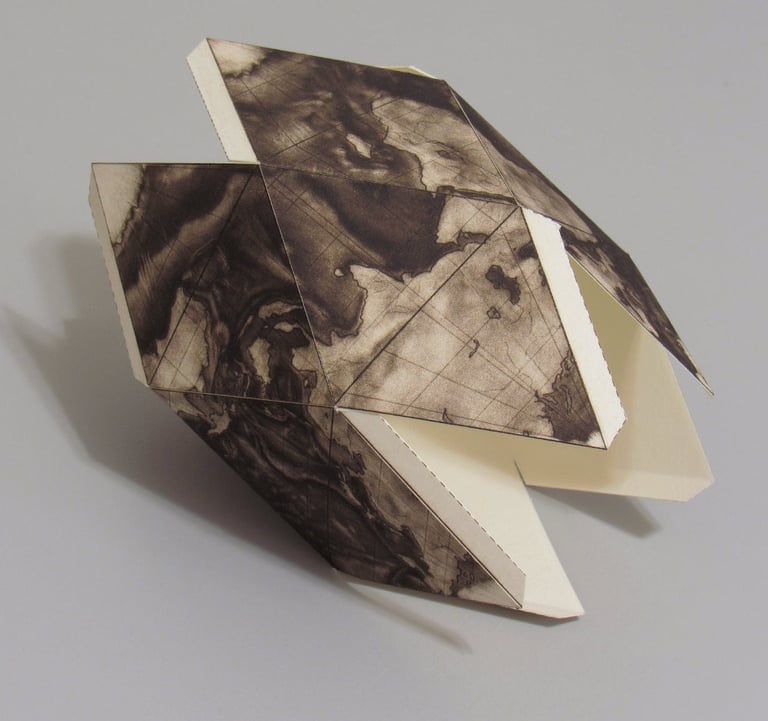
So was all of this worth it? I'm not sure. On one level, it's an exercise in absurdity. I spent countless hours recreating the earth as an icosahedron, using the most labor-intensive printmaking process, only to cut it up with scissors and scalpels in the end! In order for the print to be complete, you need to commit a kind of sacrilege.
There is something satisfying, however, in holding the whole world in your hand!
My hope is that if you really want to preserve the two-dimensional map, you could always buy two impressions: one to keep flat, and one to assemble.
Next stop: the moon!
